Why Custom GPU Backplate?
Most of the high end graphics cards come with their own backplates. They serve few factors like, a GPU backplate is the biggest aesthetic factor of it and at times it helps to spread the heat generated. While the high end graphics cards or GPU’s already comes with backplate, its not the same for the cheaper ones. If your GPU pcb is naked and you really need it to be covered to match the look and feel of your build, don’t worry we are here to show you how you can make a custom GPU backplate without much effort.
How to Make Custom GPU Backplate?
Custom GPU backplates are mostly made with with pvc sheets or aluminium. The process can be easy with already available equipment at home or a more engineered one that has complex design, use of lights etc. So there are more than one method available, but were are going to keep it simple yet make it looks nice. Let’s see what we are going to need to make one.
What do we need to make a custom GPU backplate?
We can make the GPU backplate with relative ease. Don’t worry we won’t need chain saw’s or cranes. I have made a list of small household tools that might be laying around, or you can find at near by stores. Let me create a list for you guys
- PVC Board (The actual material for the backplate)
- Ruler
- Angled Ruler
- Filer
- NT Cutter
- Coloured papers for styling

We are going to make this custom backplate for GPU with PVC (Poly Vinyl Chloride) boards. If you want to you can also make aluminium GPU backplate or acrylic GPU backplate in the same process. Since the RGB trend is here, I will write up another article soon on how to make a custom RGB GPU backplate. For now lets start with our todays steps on “HOW TO MAKE A CUSTOM GPU BACKPLATE”
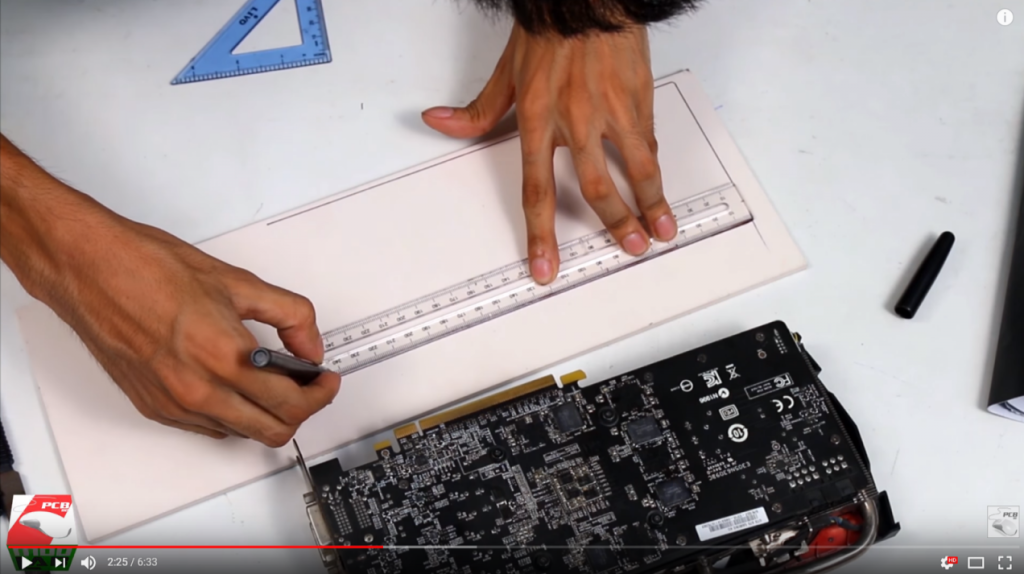
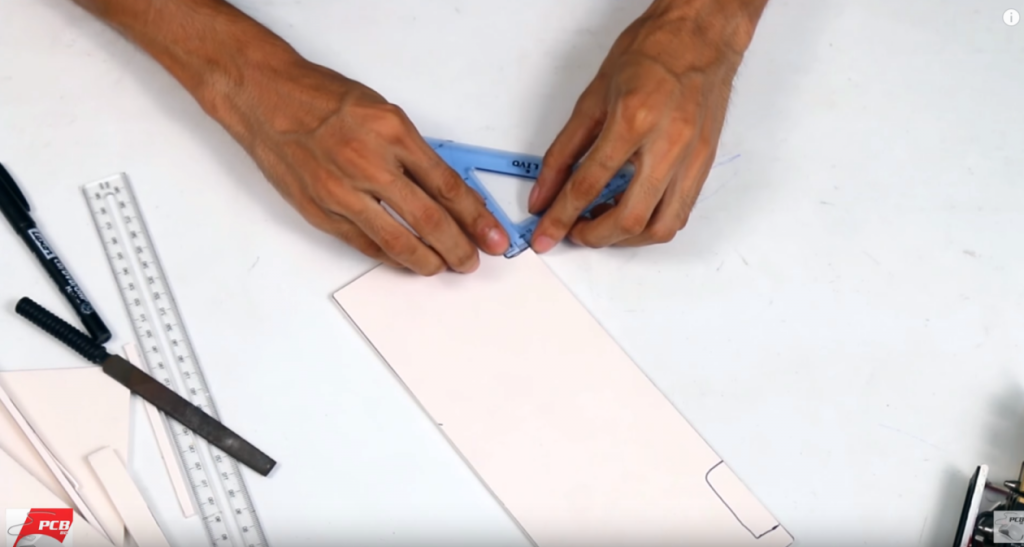
Step #1 Measuring the Backplate size
First of all we need to measure the graphics card pcb to determine exactly the size we need to cut from the PVC board. Make sure to use the angle ruler to keep the edges 90 degree. We don’t want the the backplate to be unevenly cut. If it doesn’t match the pcb edges perfectly the end work will feel some what of half cooked. So make sure the back plate is measured correctly according to the pcb board and then draw it on the PVC board using ruler and angled ruler. If you are using acrylic or aluminium, this step is same.
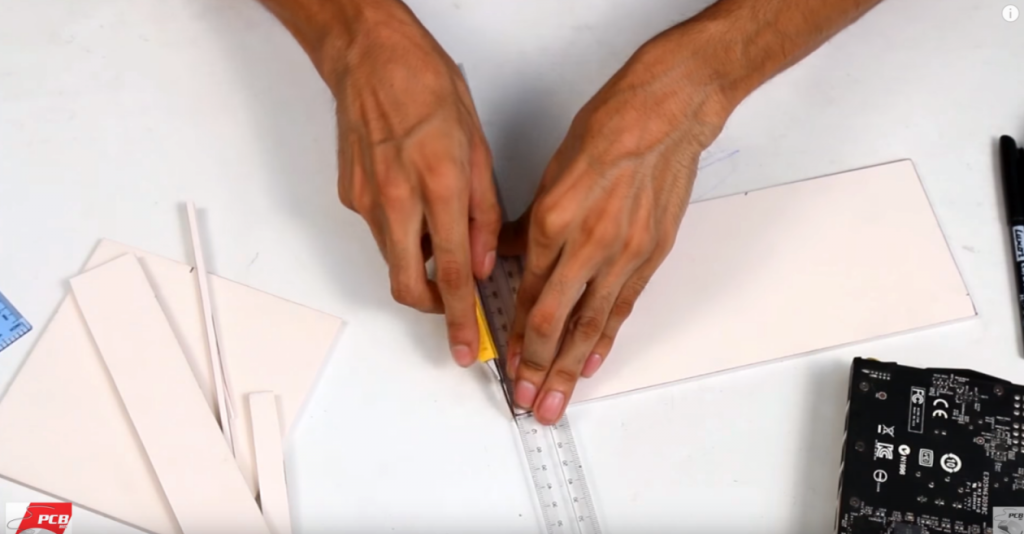
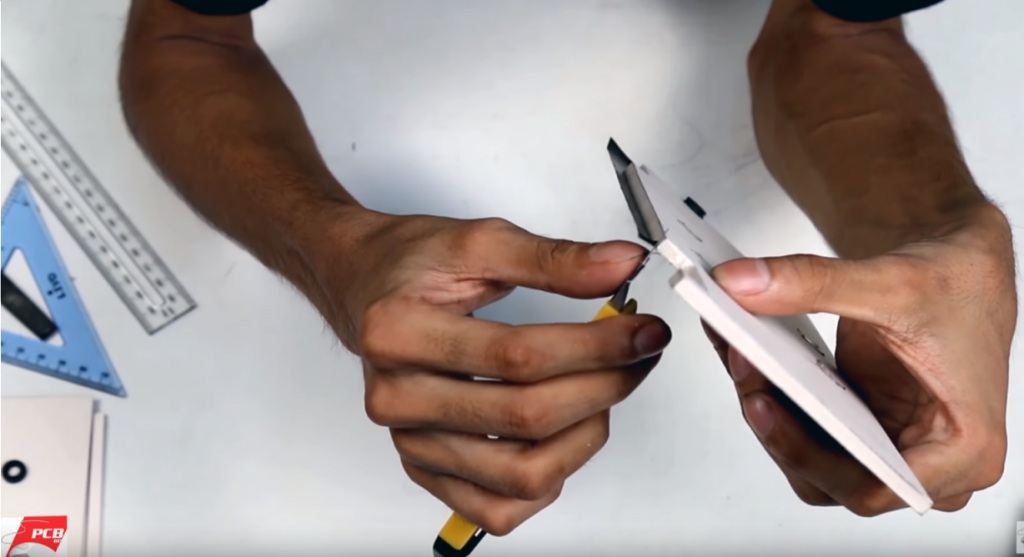
Step #2 Cutting the PVC board
Once the measuring and drawing the cutting layout on the PVC board is done, we are going to start cutting it out. Since PVC boards are very cheap, you can easily start with a fresh piece if the cut is not perfect. We used the NT Cutter to cut the PVC, since its very soft, the cutting process is smooth. However, don’t forget to use the ruler to make the cuts straight, it also provides support while making the cut.
If you are making a acrylic backplate, NT cutters are sufficient to make cuts on those. But if its a aluminium board, then the NT cutter is not going to work for you. You will need a cold chisel or tin snipe. Its best to use a electric cutter but its costly. Check out some ways you can cut your aluminium at home.
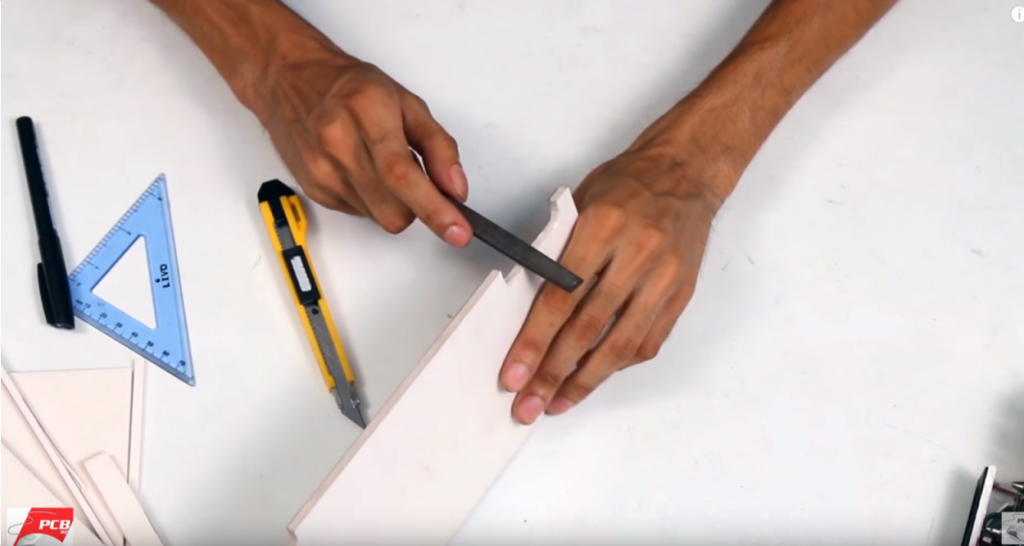
When the cutting is done, we are going to need to use the filer to make the edges smooth. Make sure that you don’t over press and break the PVC board. Use it as long as the corners and sides are not scratchy.
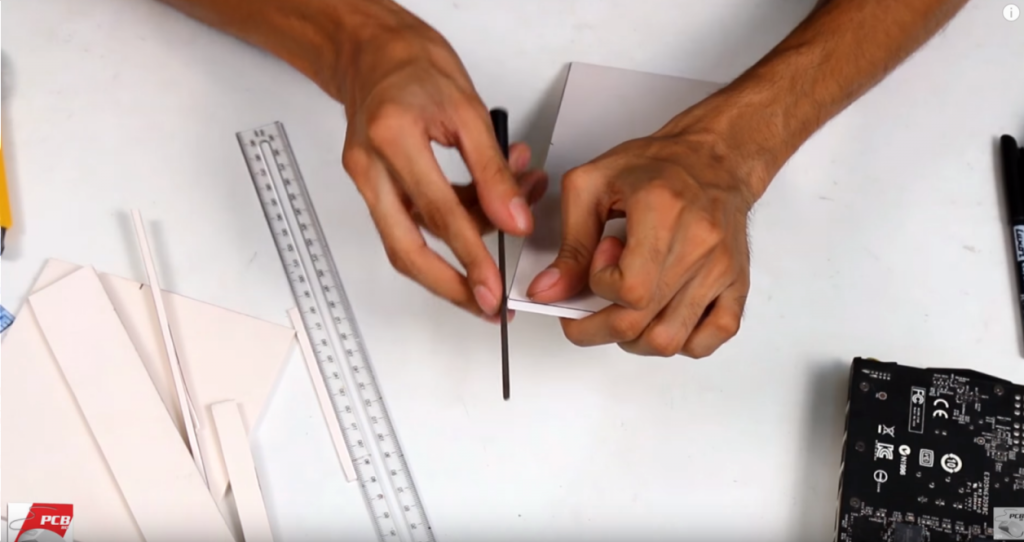
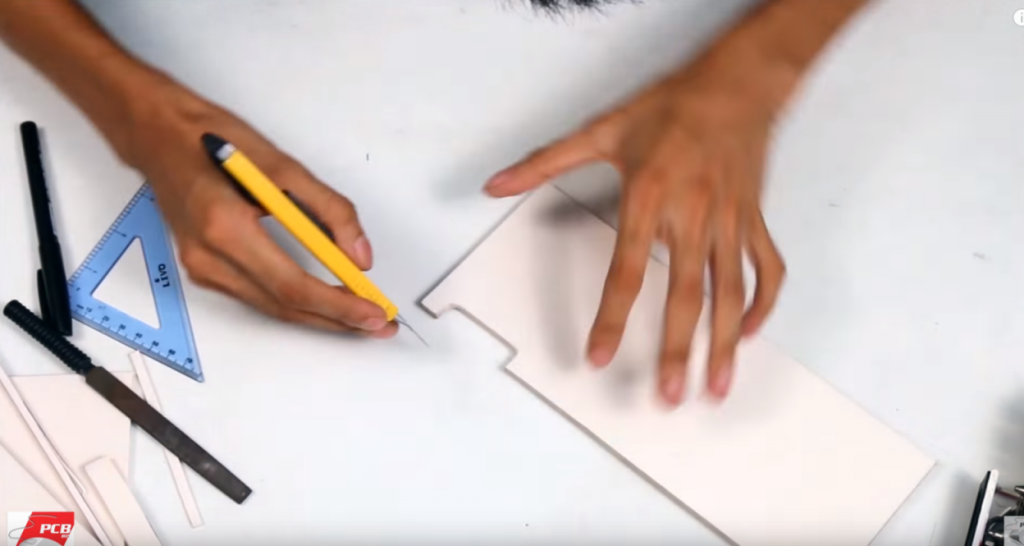
Step #3 Cutting out the ports from backplate
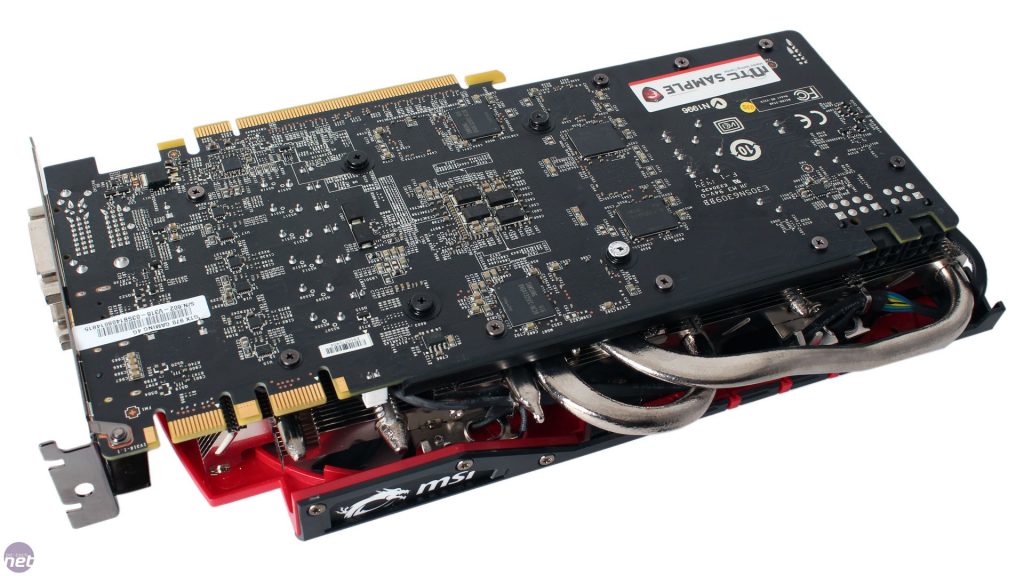
Once our main backplate is properly cut, then we start measuring and cutting out the port areas. In this project we are making the backplate for MSI GTX 1070 graphics card. It has two port bays. One for the SLI bridge and the other for the two 8 pin power cables. We are going to carefully measure the port areas and draw them out on the PVC board. We used the angle ruler to make the measurement and drawing exact.
Once the drawing is done the next step is the cutting process. Its same as before. But since this cut is going inside the board we need to be more careful. A little bit of excess cut here and there can ruin the whole board. So use your rulers wisely here.
Done with the cutting? Its time to use the filer. Again, we need to be careful using the filer, since we are working on the inside, if the GPU backplate is damages somehow in the inside part we might have to start again from the scratch.
Step #4 Styling the Backplate
After cutting out the port areas our backplate is almost ready. Since the need is to style it according the aesthetics of the pc build before we fit it on the GPU itself. We had a black texture paper for this project. We are going to cut it out same as the backplate itself after measuring it up.
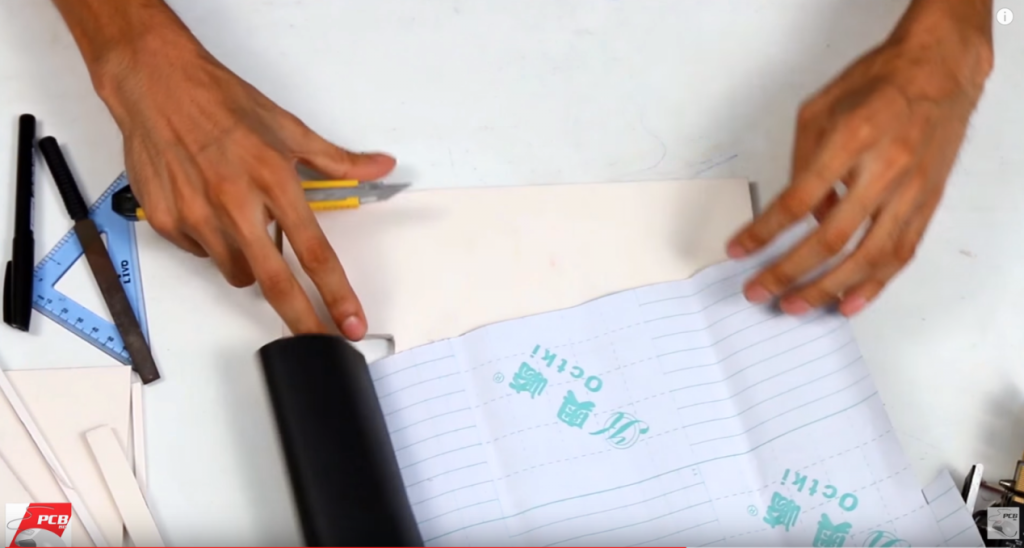
Now its time to put on the texture paper on the GPU backplate. We are not styling it much. Just putting on the black texture with the glue behind it so that the white PVC remains hidden.
Though we did not style it much, you can play with your imagination as much as you want. You can try different colors, texts or logos on it. Be creative and try to give it a professional finish, you may not want to try too much if you are not the guy with designs 😛 .
Step #5 Placing the Backplate on GPU PCB
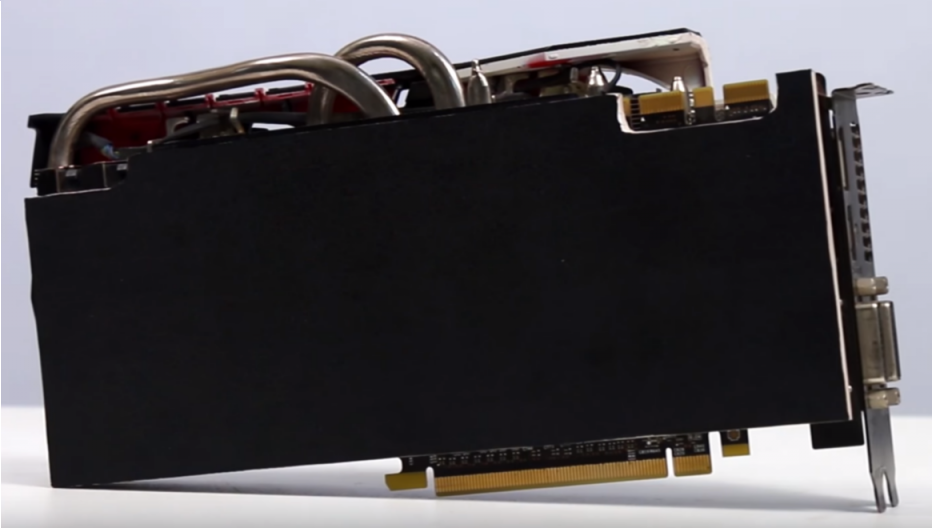
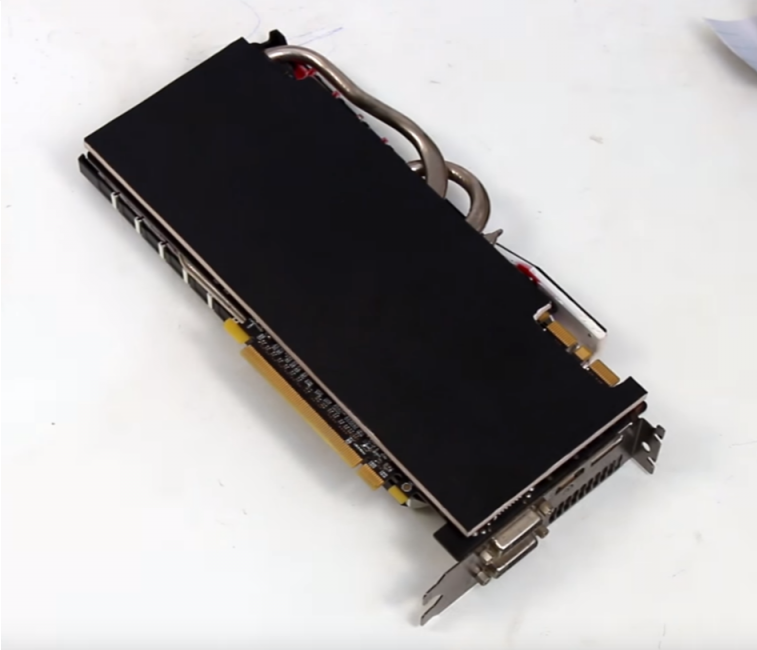
By now the backplate is ready to be placed on the pcb board. Make sure we are done with backplate design because we don’t want to move it much once its placed on the pcb. If the steps done correctly the final custom backplate will not look much different from an after market GPU backplate.
So how do we place the backplate on the PCB? We need to use thermal pads over the screws on the pcb. Place 4 to 6 pads on the screws, since these has glues of their own they will stick to pcb.
Now we are going to use double sided glues on the thermal pads to fix the backplate on the thermal pads. This will make sure that there is enough space between the backplate and GPU pcb. You also need to be careful while placing the backplate, so that it is perfectly aligned with the edges and the port areas are clear.

Where to buy Custom GPU Backplate?
The backplates can be purchased as ready made ones available at various shops or can be ordered to a PC case modder who is good at the particular job. There are quite a few renowned seller of gpu backplate. You can have a look at the inventory of the following:
All of them has backplates available for different graphics card models and comes in different styles. If you want to add more personal touch to your card you may want to look for a local guy who can mod it for you according to your taste.
ভাই আপনার সাথে আমার Idea র কিছু মিল আছে